When it comes to managing visitor access, access control plays a vital part. To help you do this cPanel control panel has a built in utility tool called IP Deny Manager. You could either use Allow or Deny code in your .htaccess file, but in this tutorial we will be focusing on configuring it via cPanel.
Accessing control is especially useful when robots or malicious visitors from certain countries or domain addresses spam your site place comments. Check out the video on this topic: How to use the IP Deny Manager in cPanel attached to this tutorial.
- As all ways, log into your cPanel account
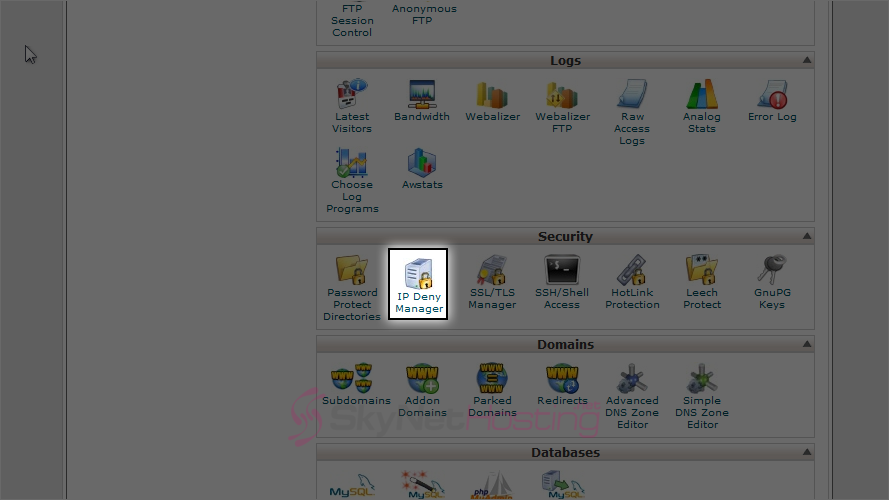
- Navigate to the Security section and click IP Deny Manager.
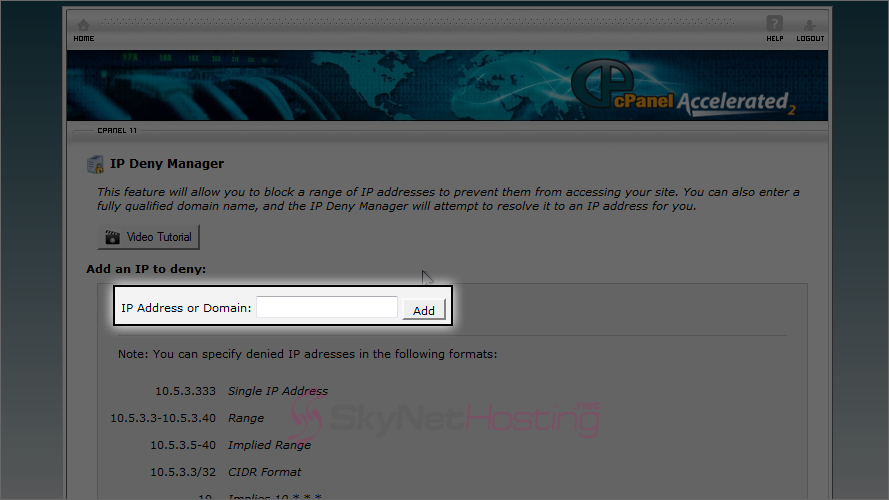
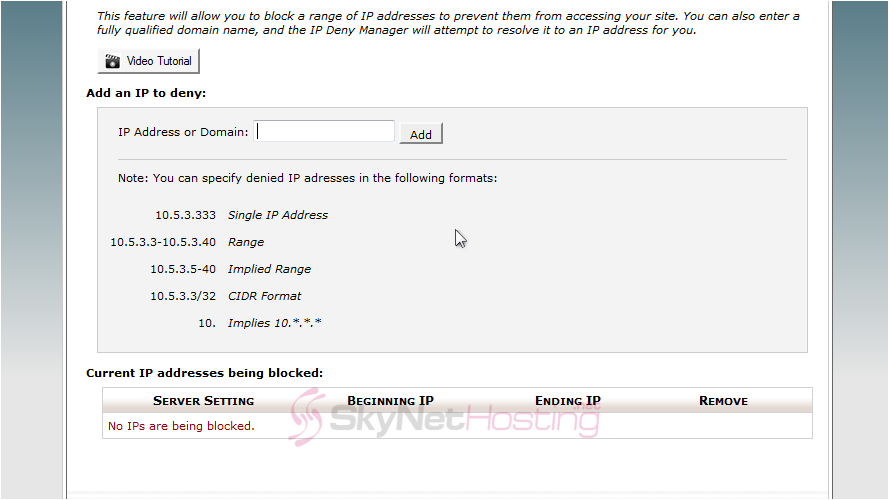
- Enter an IP address or range you would like to block, as an example we will block IP address : 123.45.67.89. Click Add.
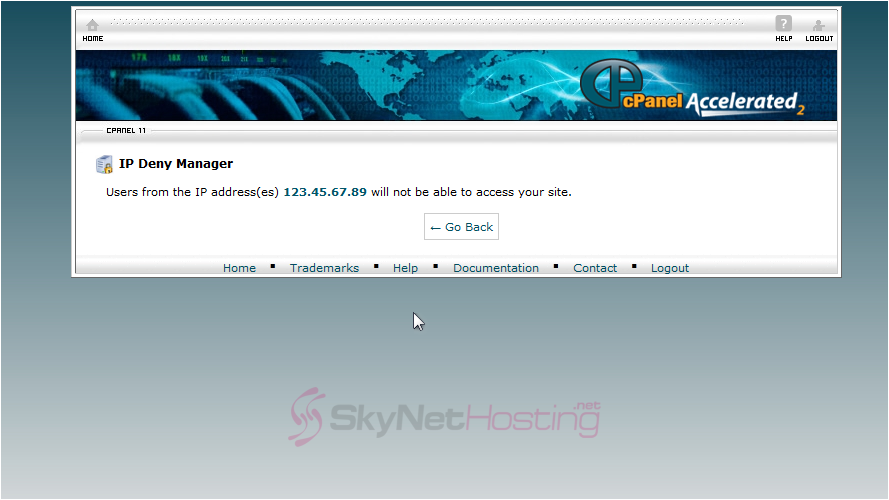
- That’s it! We’ve blocked anyone using the IP address 123.45.67.89 from accessing our website.
- You can see the IP addresses currently being blocked here. To unblock a specific IP address click on the red cross next to it’s Ending IP value.
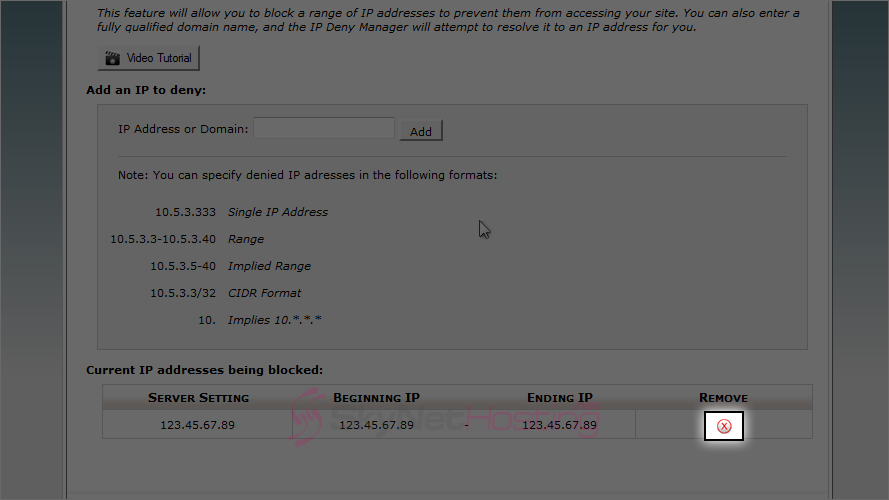
- Then confirm by clicking Remove IP
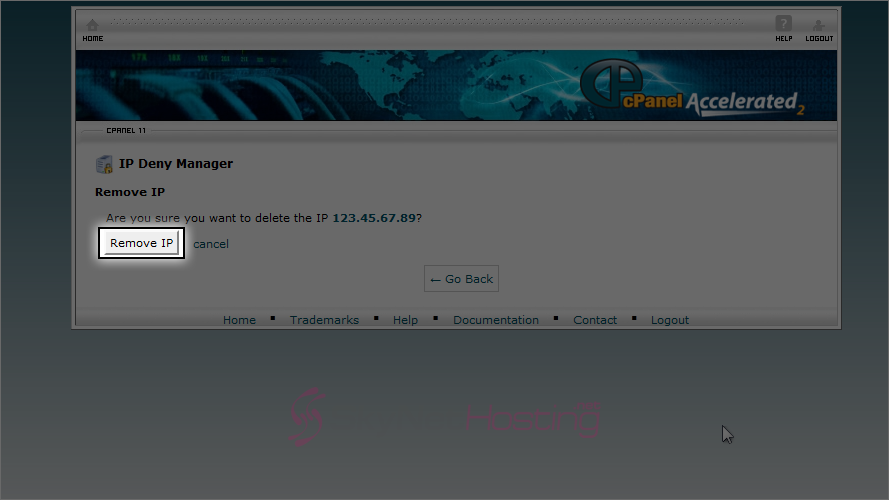
- On success,you will be directed to a page where the remove IP is no longer listed there.
How to use IP Deny Manager in cPanel?
You just learned how to block and unblock an IP address. Repeat this process for any number of IPs you want for your account. Learn about other cPanel functionalities you find under the Security category.